Archive | February, 2013

Cutting things down to size {Note cards for spring}

21 Feb

I don’t know about you, but I am so ready for spring. And what better way to prepare than to pull out some springy colors and play around! I often find that when I have a few spare minutes and feel like crafting, it takes some time to get the creative juices flowing. And usually, I don’t have all day to spend on crafts {shocking, I know}, so I end up putting my supplies away without much to show for it!

This time I tried a different tactic – I started with A2-sized note cards {4.25′” x 5.5″} and then I cut them all in half {down to 4.25″ x 2.75″}. It’s such a simple thing, but it’s amazing what a difference it makes to shrink the size of your blank canvas! Suddenly, my task wasn’t quite as daunting and lots of little ideas started popping into my head. It’s probably a good thing to remember when tackling any project – if you’re staring at blank paper for very long, maybe you just haven’t cut your tasks into small enough pieces!

Here are some of my favorites from the night – these little cards are not really big enough for mailing, but are perfect for gifts and hand-delivered wishes. Enjoy!

photo 1 (9)They didn’t have a bass stamp, but this one is for the hubs. While he’s out making music, I’m home making cards :)

photo 3 (7)

I had in mind all of the beautiful women I’m lucky enough to call family when I made this one. Wishing I was sharing a pot of tea with them right now!

photo 2 (8)

photo 1 (10)

Heat Embossing Tutorial {Wine & Chocolate Party Invitations}

11 Feb

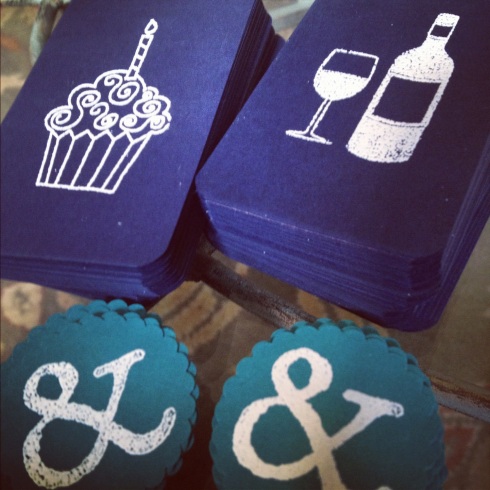
You may remember the wine and chocolate party invitations from the party celebrating my parents’ 60th birthdays last summer. I made them using one of my favorite rubber stamping techniques: heat embossing! With the right tools, heat embossing is a great way to add a little more oomph to your next stamped project by turning a flat image into a professional-looking raised image! I’d like to share a few tips for getting great results every time. All you need is:

  • Heat embossing tool {clip a 40% coupon from Michael’s to pick one up on the cheap}
  • Embossing powder {I love opaque white on bright paper}
  • Your favorite rubber stamps
  • Inkpad {a slower-drying ink is best for heat embossing}
  • Sturdy paper like card stock
  • Scrap paper to cover your work area

invitationStart by putting some scrap paper down over your work area. Heat embossing powder can be messy, but you don’t need anything fancier than a piece of paper to keep your table clean. Then stamp your image. I used VersaMark watermark ink for this project because it’s slow to dry and doesn’t leave any pigment behind.

IMG_3465Make sure you put the embossing powder down quickly before your ink has a chance to dry. Cover the image completely – don’t be afraid to just dump it out. You may be tempted to go easy to save powder, but it’s really easy to get the powder back in the jar. I’ve been using the same jar of opaque white for ages {including about 50 of these invitations with three embossed images each} and I’ve hardly made a dent.

IMG_3467

Shake off the excess powder over your scrap paper, tapping the paper lightly on your work surface. Give the back of your paper a good “thwack” to get any stubborn bits of powder off. When you’re done, you should only have powder on your stamped image.

IMG_3468Make a funnel with your scrap paper and let the excess powder slide right back into the jar.

IMG_3469

Turn your heat embossing tool on and hold it a few inches away from your stamped image. Embossing powder is made of wax, so all you’re doing is melting the wax. Slowly move the tool around the image, moving on when the powder becomes shiny – if you leave it over the image much longer, it will start to look a little less crisp.

IMG_3472

That’s really it! Your embossed image will be cool and dry in seconds! Repeat as necessary :)

IMG_3474

IMG_3485

Love is in the mail {DIY Valentines}

7 Feb

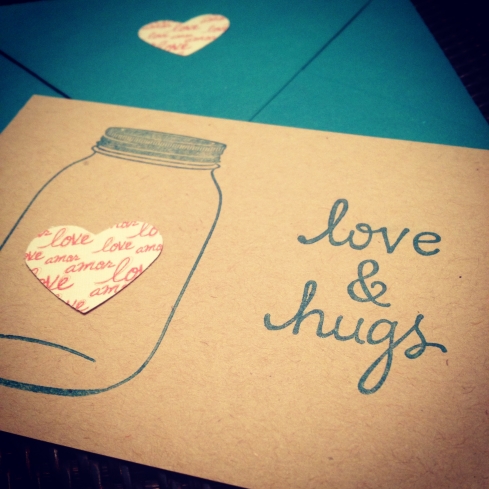
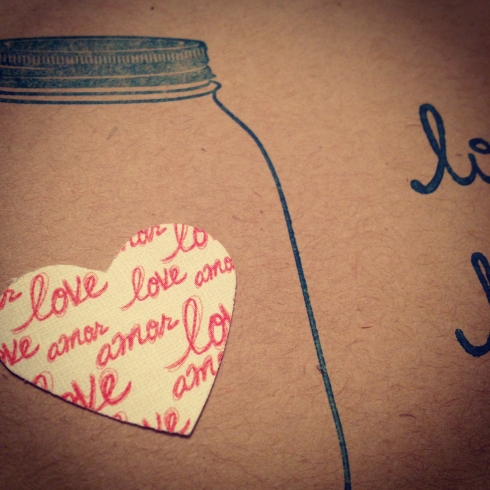
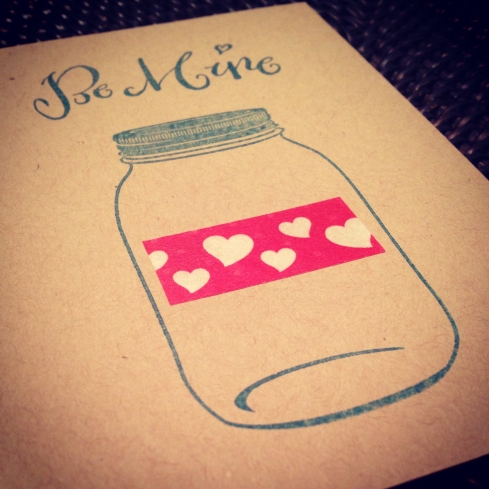
With Valentine’s Day a week away, there’s still time to get those handmade valentines in the mail to your special someones! I recently jumped on the seemingly endless mason jar craze after making a post-work Paper Source run for some new stamps. Here are some of my favorites after playing around a bit with my new stamps and other supplies I already had on-hand. I really wish I could bottle up my love and send it across the miles this Valentine’s Day. Enjoy!

vday5

vday

vday4

vday2

vday3