Archive | D.I.Y. RSS feed for this section

Cutting things down to size {Note cards for spring}

21 Feb

I don’t know about you, but I am so ready for spring. And what better way to prepare than to pull out some springy colors and play around! I often find that when I have a few spare minutes and feel like crafting, it takes some time to get the creative juices flowing. And usually, I don’t have all day to spend on crafts {shocking, I know}, so I end up putting my supplies away without much to show for it!

This time I tried a different tactic – I started with A2-sized note cards {4.25′” x 5.5″} and then I cut them all in half {down to 4.25″ x 2.75″}. It’s such a simple thing, but it’s amazing what a difference it makes to shrink the size of your blank canvas! Suddenly, my task wasn’t quite as daunting and lots of little ideas started popping into my head. It’s probably a good thing to remember when tackling any project – if you’re staring at blank paper for very long, maybe you just haven’t cut your tasks into small enough pieces!

Here are some of my favorites from the night – these little cards are not really big enough for mailing, but are perfect for gifts and hand-delivered wishes. Enjoy!

photo 1 (9)They didn’t have a bass stamp, but this one is for the hubs. While he’s out making music, I’m home making cards :)

photo 3 (7)

I had in mind all of the beautiful women I’m lucky enough to call family when I made this one. Wishing I was sharing a pot of tea with them right now!

photo 2 (8)

photo 1 (10)

Heat Embossing Tutorial {Wine & Chocolate Party Invitations}

11 Feb

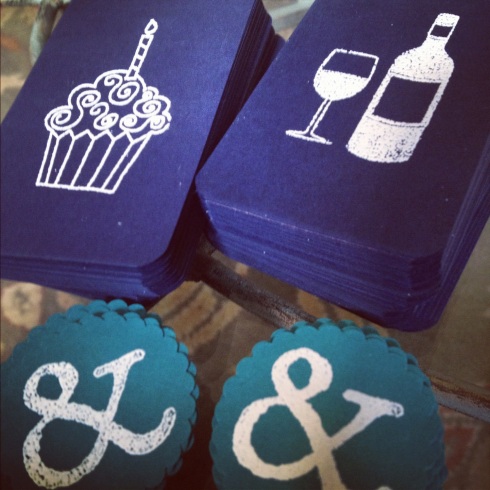
You may remember the wine and chocolate party invitations from the party celebrating my parents’ 60th birthdays last summer. I made them using one of my favorite rubber stamping techniques: heat embossing! With the right tools, heat embossing is a great way to add a little more oomph to your next stamped project by turning a flat image into a professional-looking raised image! I’d like to share a few tips for getting great results every time. All you need is:

  • Heat embossing tool {clip a 40% coupon from Michael’s to pick one up on the cheap}
  • Embossing powder {I love opaque white on bright paper}
  • Your favorite rubber stamps
  • Inkpad {a slower-drying ink is best for heat embossing}
  • Sturdy paper like card stock
  • Scrap paper to cover your work area

invitationStart by putting some scrap paper down over your work area. Heat embossing powder can be messy, but you don’t need anything fancier than a piece of paper to keep your table clean. Then stamp your image. I used VersaMark watermark ink for this project because it’s slow to dry and doesn’t leave any pigment behind.

IMG_3465Make sure you put the embossing powder down quickly before your ink has a chance to dry. Cover the image completely – don’t be afraid to just dump it out. You may be tempted to go easy to save powder, but it’s really easy to get the powder back in the jar. I’ve been using the same jar of opaque white for ages {including about 50 of these invitations with three embossed images each} and I’ve hardly made a dent.

IMG_3467

Shake off the excess powder over your scrap paper, tapping the paper lightly on your work surface. Give the back of your paper a good “thwack” to get any stubborn bits of powder off. When you’re done, you should only have powder on your stamped image.

IMG_3468Make a funnel with your scrap paper and let the excess powder slide right back into the jar.

IMG_3469

Turn your heat embossing tool on and hold it a few inches away from your stamped image. Embossing powder is made of wax, so all you’re doing is melting the wax. Slowly move the tool around the image, moving on when the powder becomes shiny – if you leave it over the image much longer, it will start to look a little less crisp.

IMG_3472

That’s really it! Your embossed image will be cool and dry in seconds! Repeat as necessary :)

IMG_3474

IMG_3485

Love is in the mail {DIY Valentines}

7 Feb

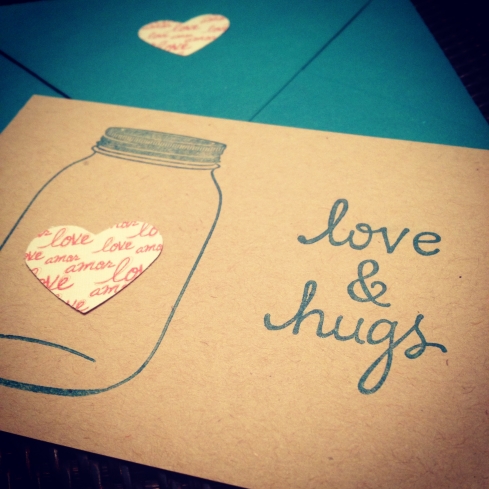
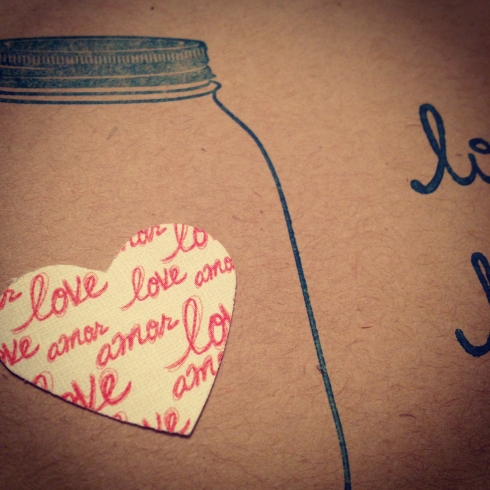
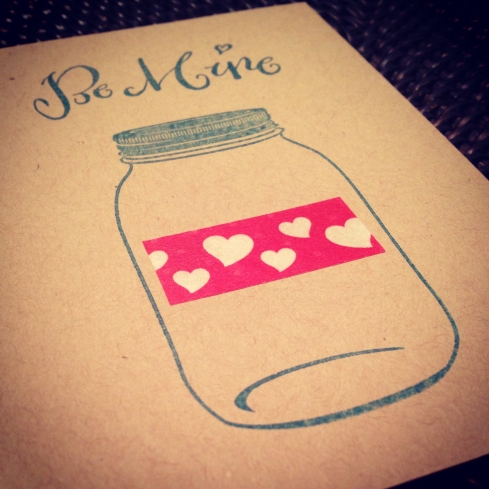
With Valentine’s Day a week away, there’s still time to get those handmade valentines in the mail to your special someones! I recently jumped on the seemingly endless mason jar craze after making a post-work Paper Source run for some new stamps. Here are some of my favorites after playing around a bit with my new stamps and other supplies I already had on-hand. I really wish I could bottle up my love and send it across the miles this Valentine’s Day. Enjoy!

vday5

vday

vday4

vday2

vday3

Birthday Celebration {Navy & Lime Party Palette}

14 Aug

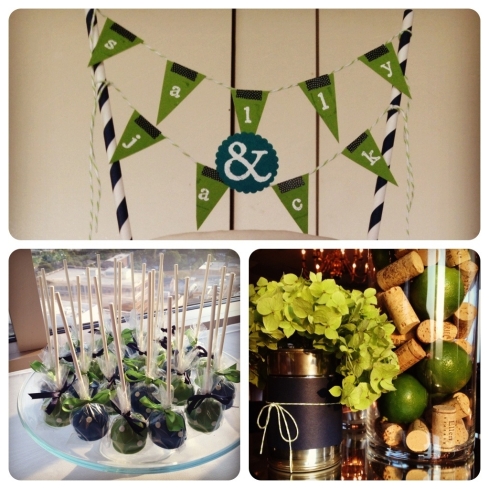
Time for yet another long overdue post! I recently had the absolute pleasure of planning a fun party with my two lovely sisters. And that party just happened to be a joint birthday celebration for our two lovely parents! Both parents turn 60 this year, and we wanted to do something special to mark the occasion.  We settled on a wine and chocolate theme pretty quickly and then started planning!

We thought a navy and lime color palette would be perfect for summer and added in a little teal for some fun accents. Here are some of our favorite details from the party!

First things first, the invitations set the tone long before a single guest arrives! Stay tuned for more details on how these were made using one of my favorite rubber stamping techniques: heat embossing!

We were thrilled with how the finishing touches came together the day of the party even though much of our planning had been done across hundreds of miles!

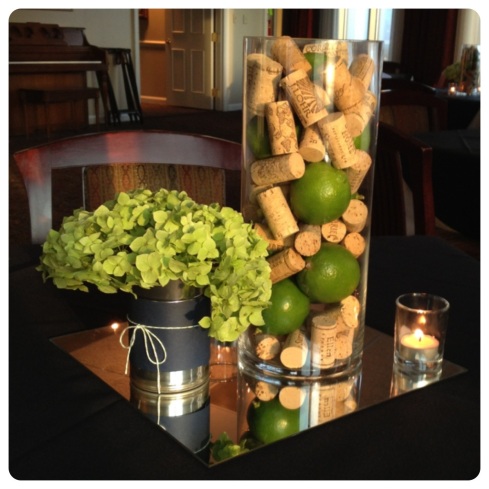
The centerpieces were made at little cost with simple cylinder vases from Michaels, bulk corks from ebay, and fresh limes. We upcycled tin cans by wrapping them in navy paper and lime green baker’s twine. Green hydrangeas from my mother’s garden completed the look perfectly {thanks for providing the decor at your own party, Mom!}.

And what kind of a chocolate party would it be without a big, chocolate cake?!? This delicious cake was made by Debbie Seats over at Udderly Sweets in Mocksville, NC. We topped it off with a custom, DIY banner and couldn’t believe how perfectly our banner matched the decorative ribbon Debbie used!

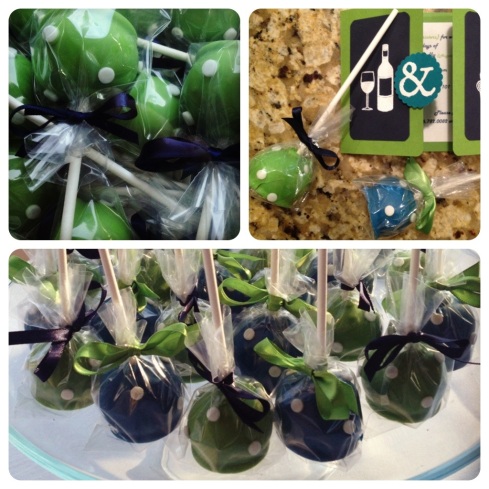
At the end of a fabulous evening of catching up with SO many dear family friends, we sent the guests away with beautiful cake pops from Katie’s Cake Pops. Katie did such a wonderful job with them and, believe it or not, they were even tastier than they were adorable … YUM!

Of course, the party would not have been complete without the ever-youthful guests of honor and my precious sisters! It was our pleasure planning this celebration, and we hope it shows in some small part how grateful we are for all our parents have done for us over the years! Happy 60th!

A First Communion and a First Commission {DIY First Communion Favors}

9 Aug

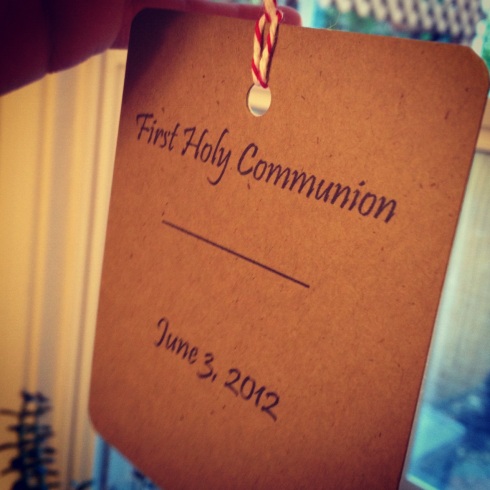
I am so excited to finally {and I mean FINALLY even more than when I did when I first started writing this post} share a project with you that has been a long time in the making! It all started a few months back when I made some favors for the baby shower I co-hosted for a friend. A neighbor happened by after the shower and my husband, ever the marketer, showed her one of the leftover storybook favors. She mentioned that she may have a need for something crafty for her son’s upcoming first communion and decided to stop by later to talk about some ideas with me.

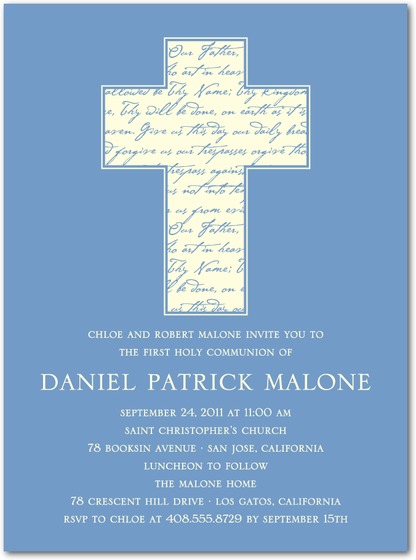
She basically wanted a gift box to hold the rosary she planned to give each child in her son’s catechism class, and was hoping it could also be something they could keep to commemorate the day. I decided to use a simple DIY favor box as my base, and then began searching online for the perfect embellishment to finish it off. I saw this first communion invitation over on tiny prints and really liked the idea of having a cross with text behind it.

So anyway, here’s what I came up with. The box itself is 4″ x 4″ x 2″, and was made using cover weight paper from Paper Source in Paper Bag and Night.  I then cut cross images out of Paper Bag paper using my Silhouette digital cutting tool and used these to form a little pocket that could hold a keepsake card. The pocket is held together by one of my favorite crafting  accessories: washi tape from cutetape.com.

{Side note: My husband gave me the Silhouette as a wedding gift, and you can really do some amazing things with it! It connects to your computer using a USB and basically looks like a little printer … BUT instead of printing, it cuts out the images you buy or design yourself! Pretty cool, right? If you’re interested in seeing one in person, Paper Source often has one in the store that can be used for demonstrations.}

I decided to go with Luke 22:19-20 for the front of the keepsake card; and when I first slipped it inside the pocket, much to my excitement, the “do this in remembrance” line was perfectly in view!

I made a more personal version of the card for my neighbor so that it truly could be kept to commemorate her son’s first communion, but here is a look at the generic version.

I also made some standalone pockets/cards for members of the family so that they could have a keepsake even though they weren’t getting the favor boxes.

I am so happy with the way these came out and, more importantly, I think my neighbor loved them too!